So, Process vs. Product....and this project absolutely falls under 'process'. It's not a "pretty" art project, but it's still a good one for several reasons. One of them being that bottle caps are actually surprisingly difficult to recycle. I had heard that before, so I did some quick research and found this helpful article that explains why. I also incorporated sorting as part of the steps in accomplishing this project. Simple sorting is an important component of early childhood science and math and a lot of pre-schools incorporate sorting activities into their curriculum. "Simple sorting and classification are fundamental concepts that help children to organize their thinking about the real world."

SUPPLIES:
- A variety of bottle caps in different sizes - I collected my caps for a month or two and stashed them in the closet until I had enough.
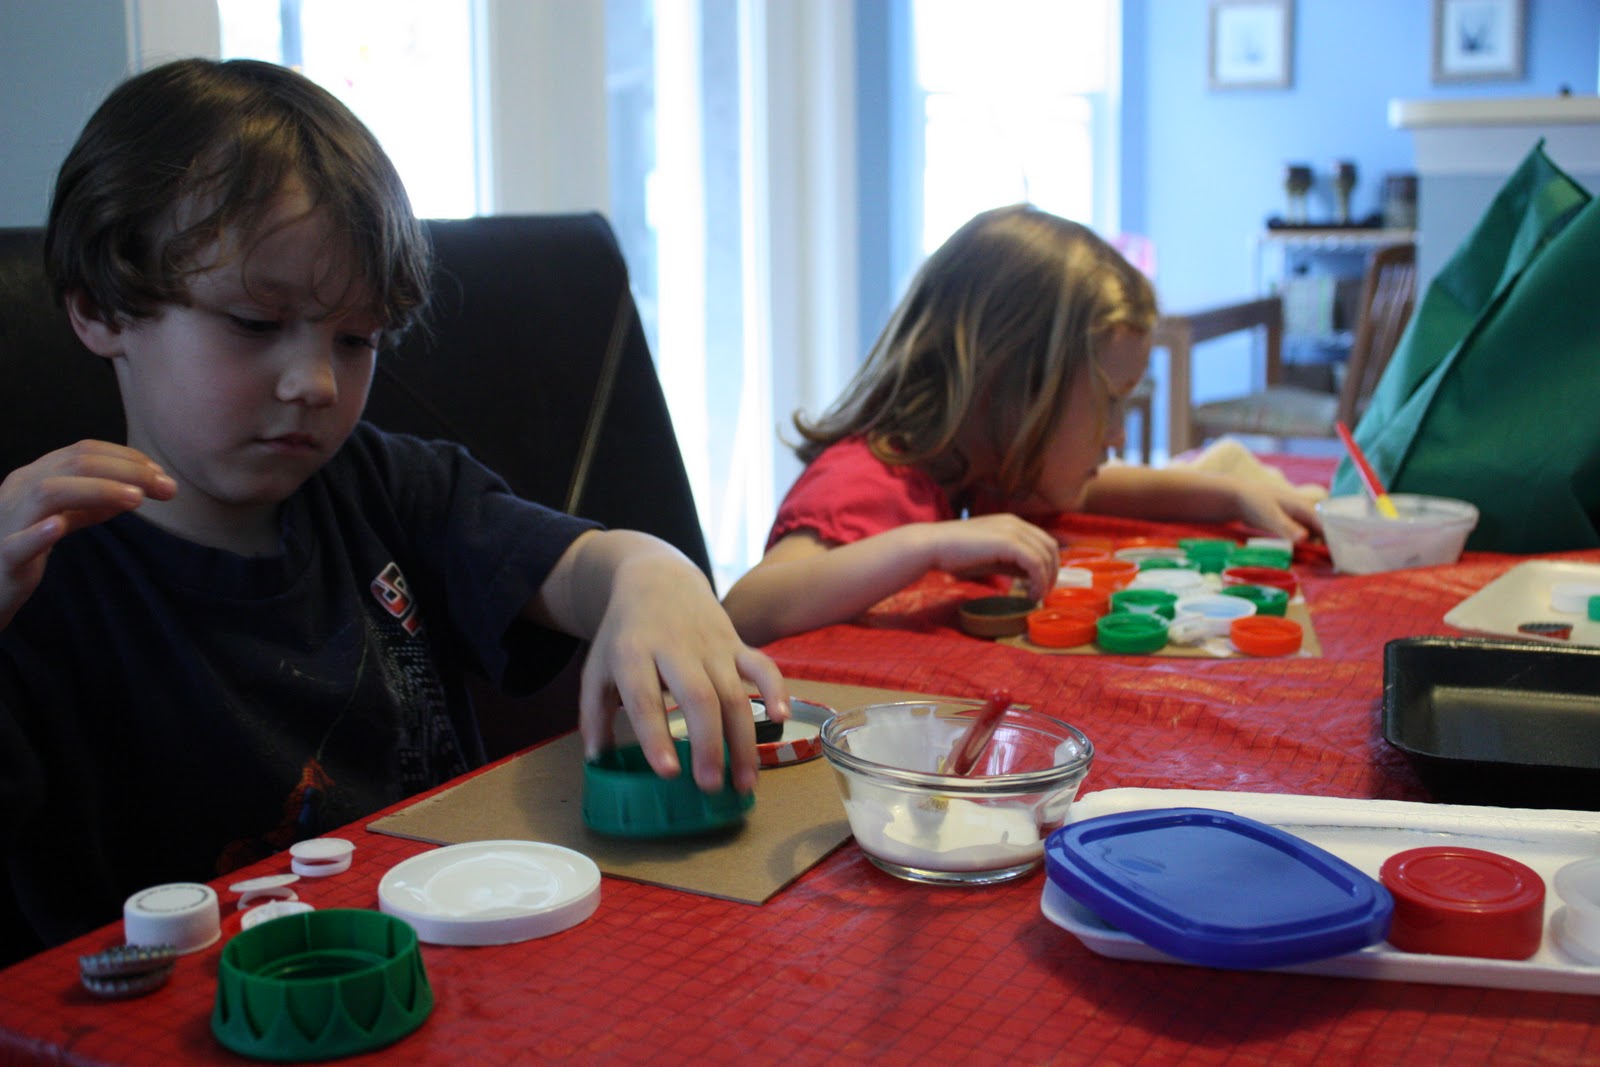
- Full strength white glue
- Glue brushes
- A really sturdy base - I used the stiff cardboard backing from a pad of Bristol board that I had, but you could also save your Styrofoam produce or meat trays (washed & dried). They work really well and you get to do some more recycling!
- Glitter (optional)
INSTRUCTIONS:
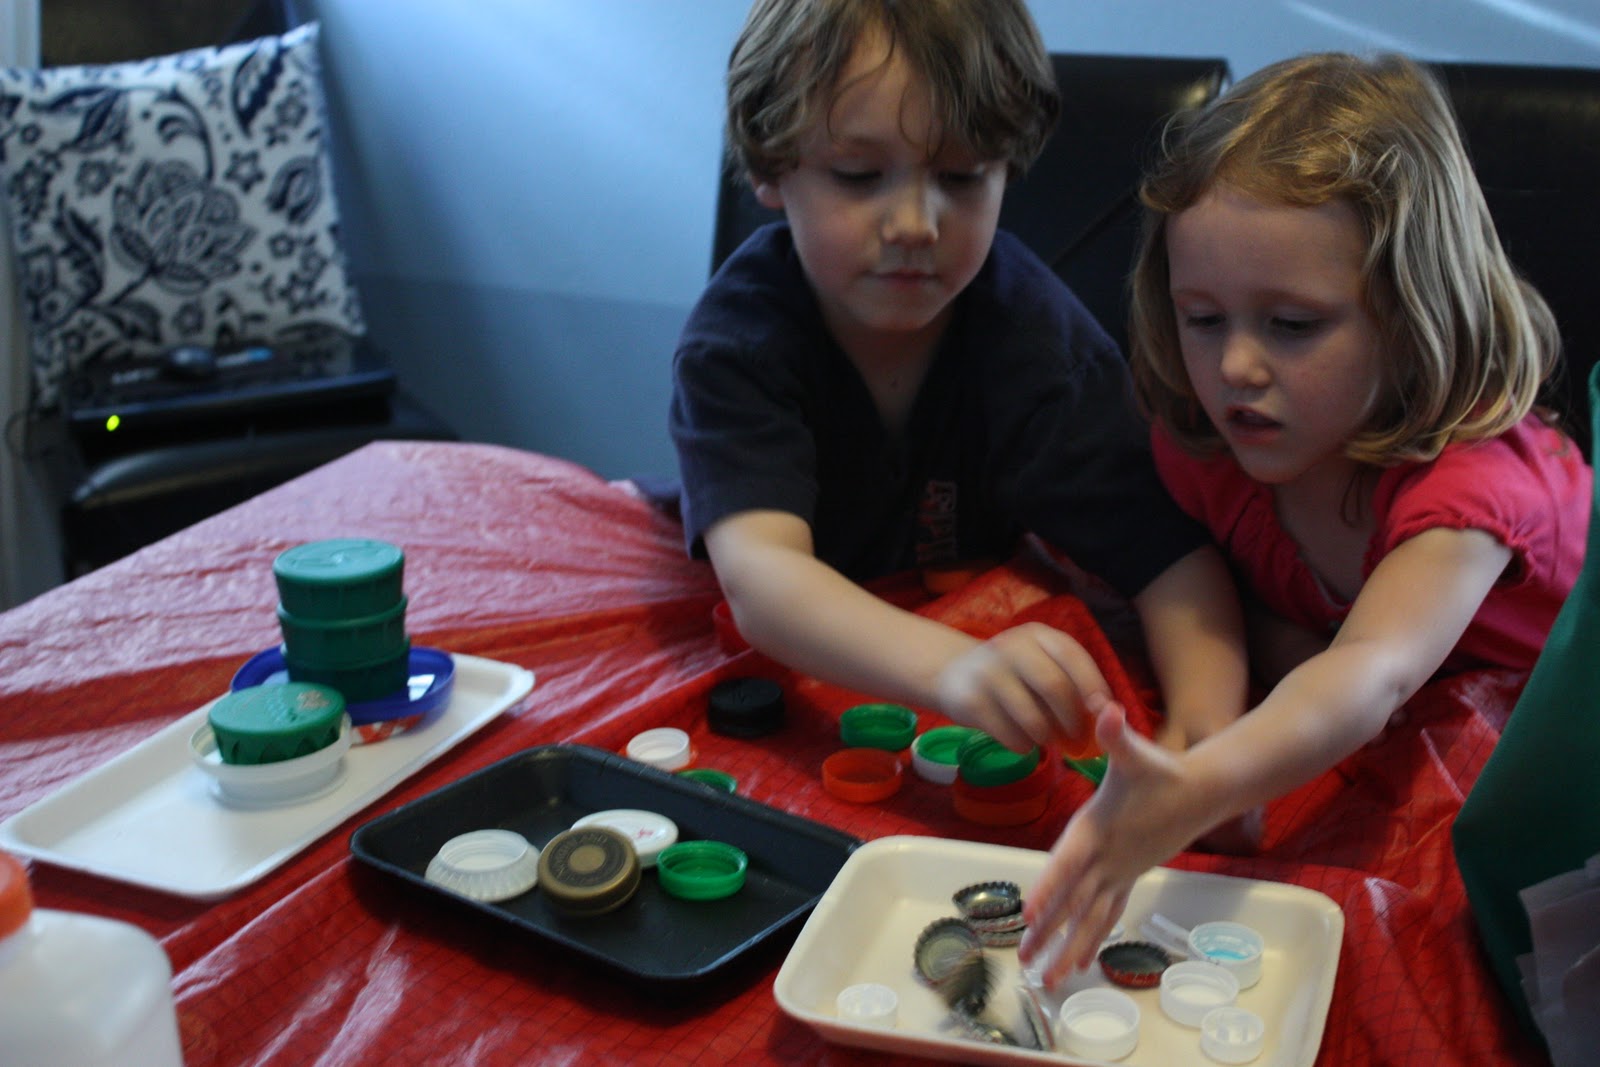
1.) Have the children sort the bottle caps by size

2.) Glue the caps to the base. {TIP} The bottle caps adhere best if they are glued with the flat side down. I recommend showing the children an example of this, otherwise you'll end up with bottle caps popping off very easily. Whether or not they they follow the example is another story and if not, no biggie. This is one of those freedom ("open ended" as we called it when I taught pre-school) projects. Remember...PROCESS! :-)

Sam did some nesting and built up while Molly kept her caps flat and singular. I love to observe the difference in process between these two...age and personality play a big part, but I find it interesting.

3.) Glitter (optional) and let dry. This project can sometimes take a LONG time to dry depending on how much love your ankle biter had for glue puddles, so keep them out of reach until they are completely dry, otherwise you might have a sad friend when it all falls apart.

....and there you have it! Have fun & get messy!
:-)
Miss Jenna
No comments:
Post a Comment